Seamless Upgrade: Mastering Azure Front Door Migration from Classic to Premium (Plus a Secret Rollback Plan!)


Introduction
Upgrading your Azure Front Door from the Classic SKU to the Premium SKU can significantly increase your application's performance, security and scalability.
This guide aims to provide a comprehensive, step-by-step approach to facilitate the upgrade, ensuring a smooth transition with minimal disruption to your services.
Additionally, we will cover the (all important) undocumented rollback plan to help you revert to the Classic version if needed, ensuring a safety net throughout the process.
Let's dive in.
What is Azure Front Door?
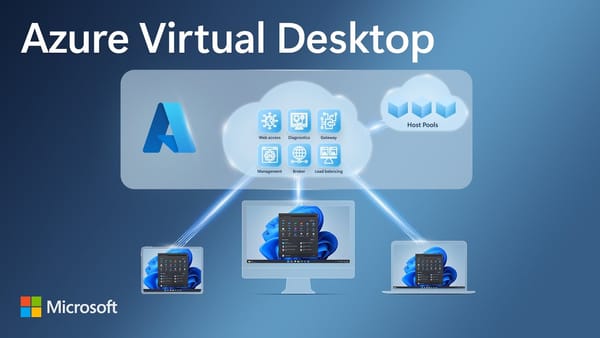
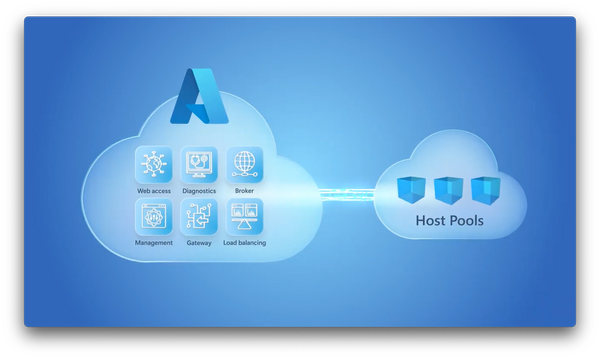
Azure Front Door is a modern, cloud-based content delivery network (CDN) designed to enhance the performance, scalability, and security of your Azure-based web applications.
As a layer 7 service, it offers features such as global load balancing and web application firewall integration.
Front Door is typically used when businesses require global load balancing, distributing traffic across multiple regions. For scenarios where only regional load balancing is needed, Azure Application Gateway may be a more cost-effective and suitable option.
SKU Retirement & Migration Justification
One of the customers I have worked with currently utilises Azure Front Door, tiered on the Classic SKU. With Microsoft announcing the retirement of Azure Front Door Classic, effective from March 2027, this SKU will no longer be available, and Front Door resources will need to be migrated to Standard or Premium SKUs. Microsoft provides a zero-downtime migration path for this.
The new Standard and Premium SKUs offer significant enhancements over the Classic SKU, including improved security features such as advanced WAF capabilities (Premium SKU), Private Link integration, and scoring-based detection.
The new SKUs also offer a simplified pricing model, making life easier, right?
However, starting April 1st, 2025, Microsoft will prevent the creation of Classic SKU resources. Scroll down to the rollback plan, and make sure you plan and complete your migrations before April 2025!
My Value Add
You might be wondering why I wrote this blog when Microsoft has this documented.
The reason is that neither Microsoft nor our CSP partner Pax8 could provide a valid rollback plan. While in practice, this was zero downtime, how was I supposed to advise a customer without a valid rollback plan?
Read on for my guidance on the migration: what to look out for, things to note, and most importantly, how to have a successful rollback plan ready and waiting.
Migration Prerequisites
- Ensure you have a custom domain using HTTPS. The new SKUs require this as a minimum.
- Need a cert? Azure Front Door Managed Certificate is free and fully-managed for you by Microsoft.
- Using your own cert? You will need to enable Managed Identities.
- Verify that session affinity is enabled in the origin group settings.
Check Compatibility
Before we start, we need to validate that the existing Azure Front Door resource can be migrated to a new SKU.
Prior to the migration, I created a new Azure Front Door (Classic) resource and a demo App Service. I have pre-configured the pools, so essentially, the Front Door is providing load balancing and access to the App Service.
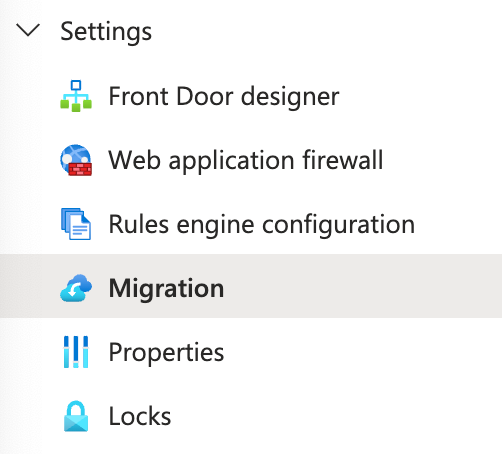
- Let's navigate to the Azure Front Door resource and find Migration under Settings.
- Select Validate to confirm compatibility – this should only take a couple of minutes.

- If this succeeds, which it usually will, we can move on.
- If this fails, view the errors and follow the recommended actions.
Prepare for Migration
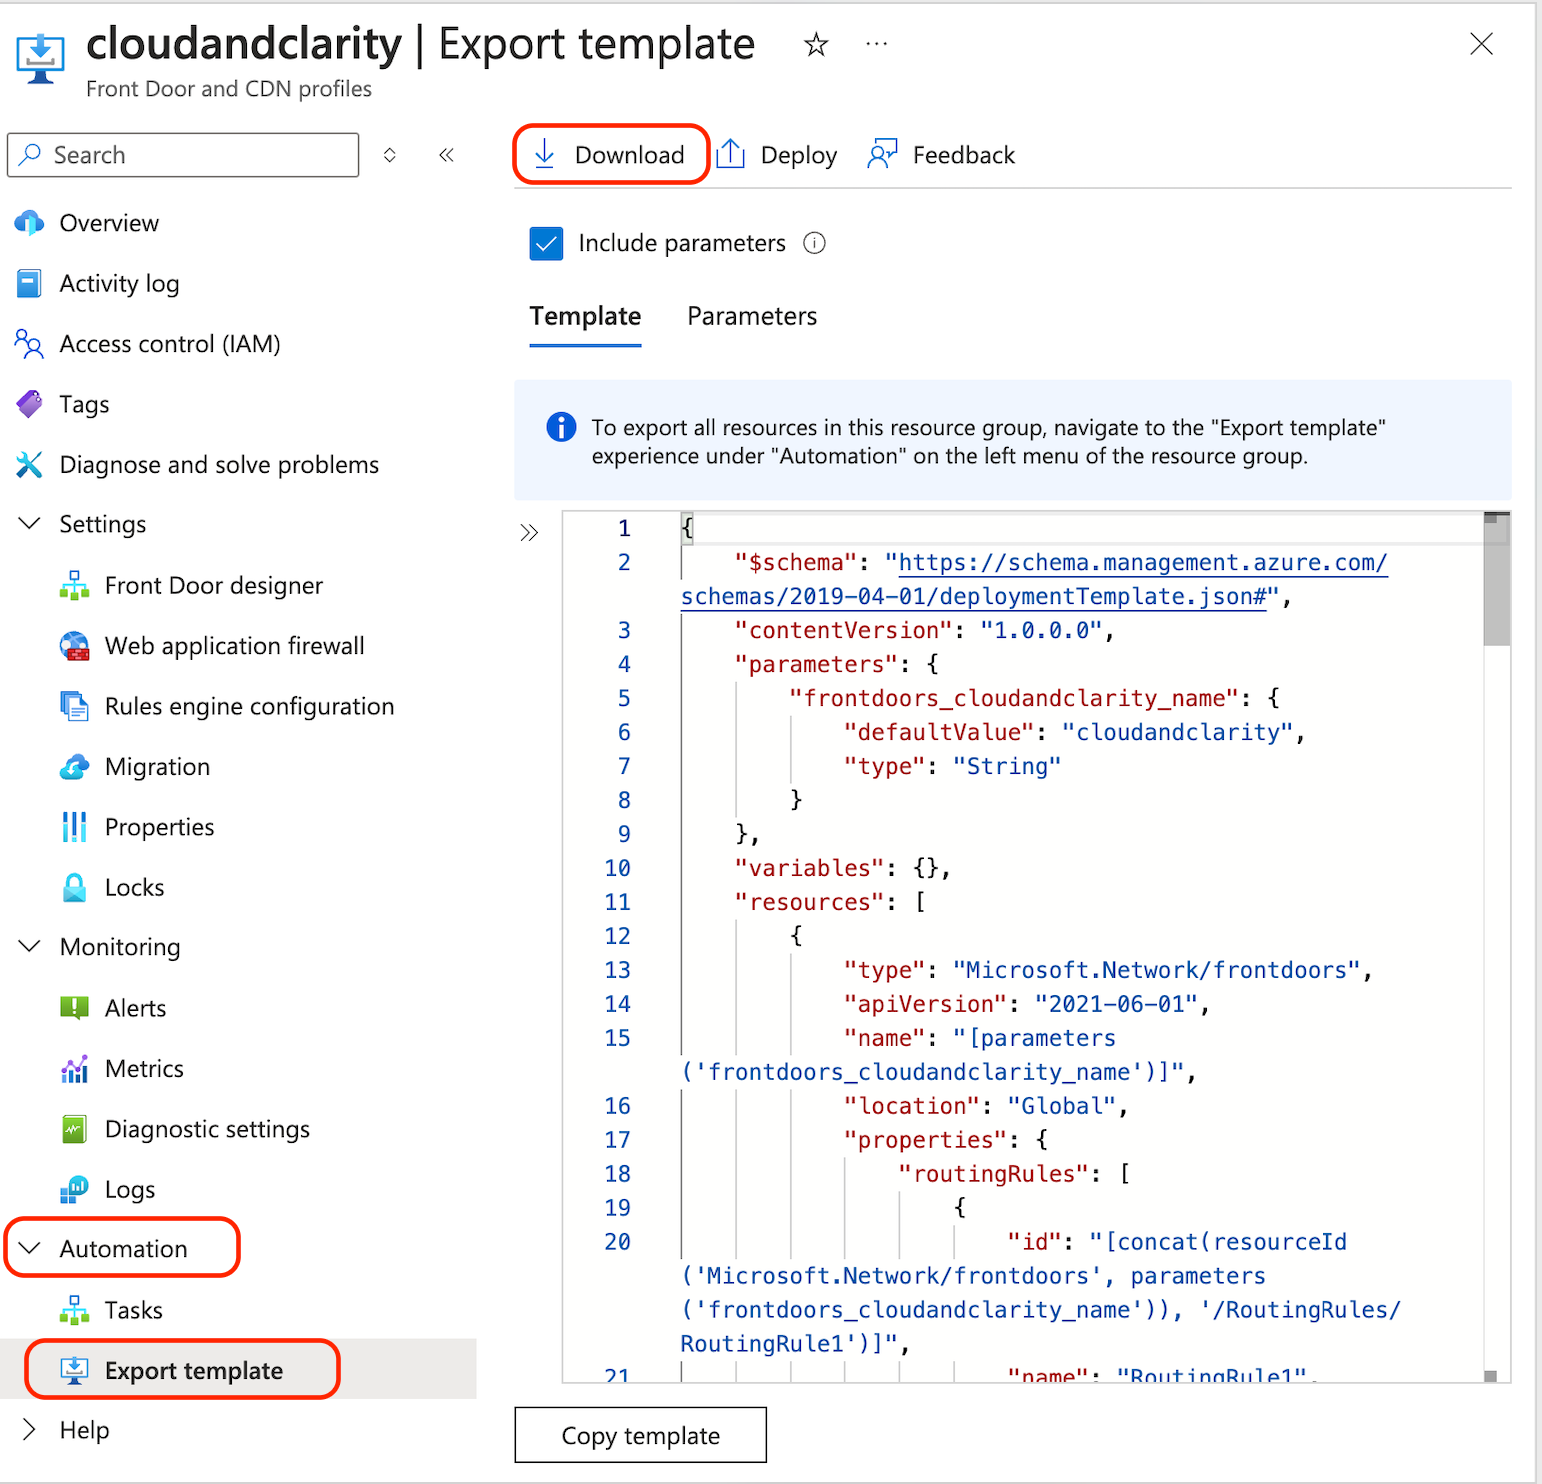
- Export your JSON template for your Front Door resource. Why? Scroll down to the rollback plan to see how this can be used.
- Within your Front Door resource, navigate to the Automation section and find Export Template. Let the template load and download it. Keep it safe!
- Before we continue, let's recap where we are at:
- We have validated that our Front Door is suitable to migrate.
- We have exported our JSON template for the classic resource. (We will use this as our "rollback"!).
- We are ready to migrate the Front Door resource.
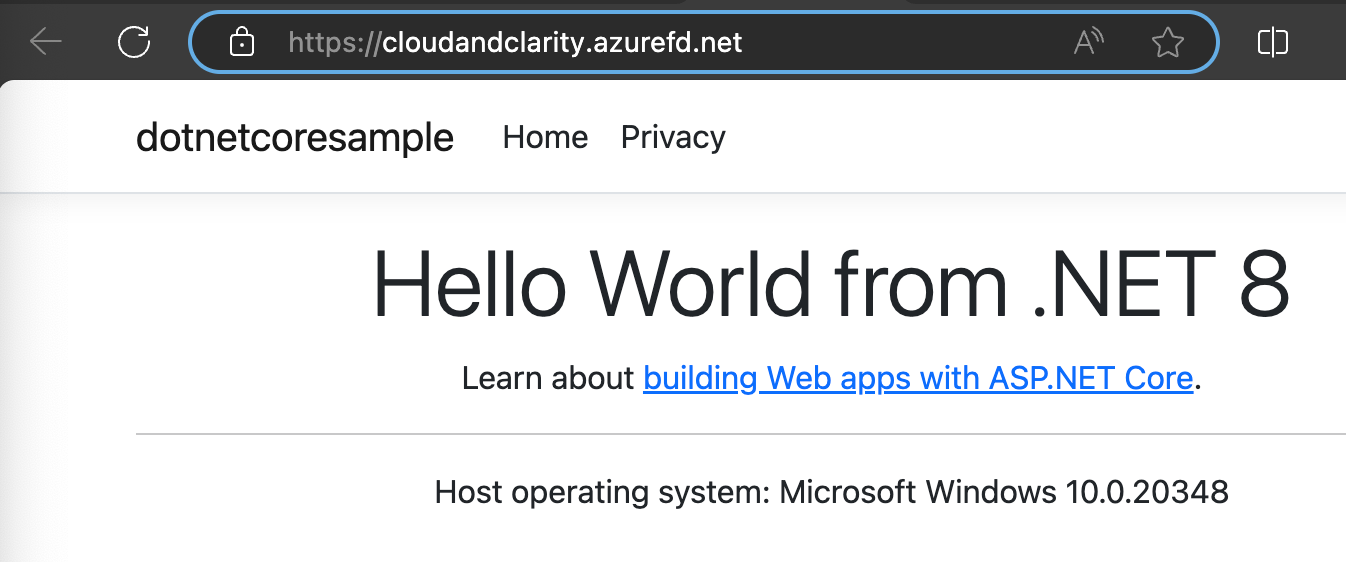
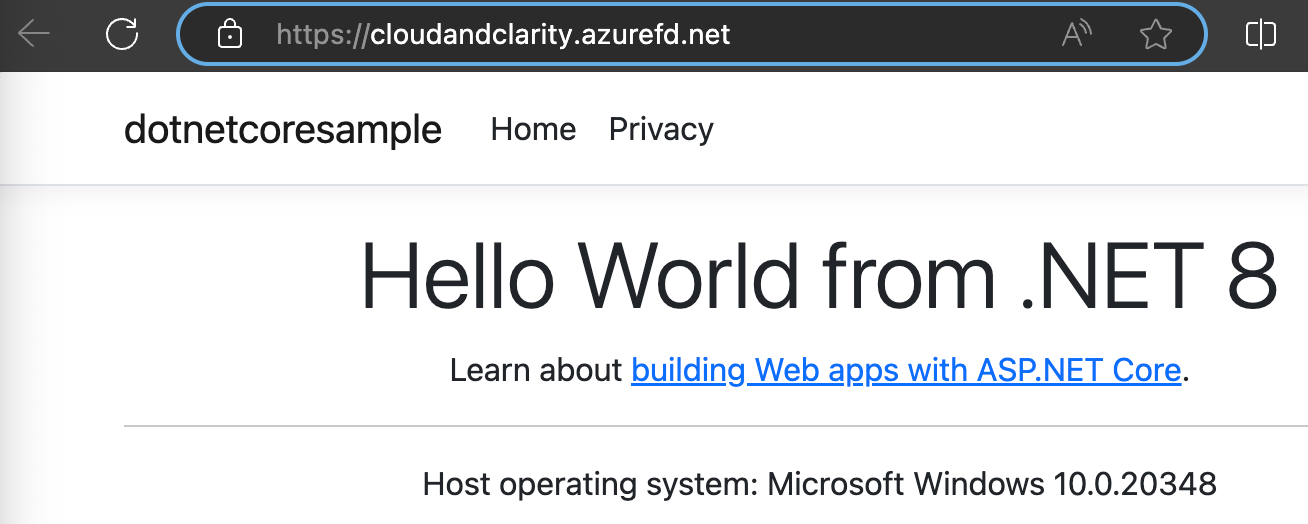
For completeness, here is my Front Door resource, showing the Hello World! App Service.
Time to Migrate
Let's crack on then!
- Re-run the validation of the Front Door migration.
- If you're happy with the automatic name and tier of what the new Front Door, select Prepare.
- Note: A new profile will be created, and from this point on, unless the migration is completed or aborted, the existing Front Door will be in a read-only state.

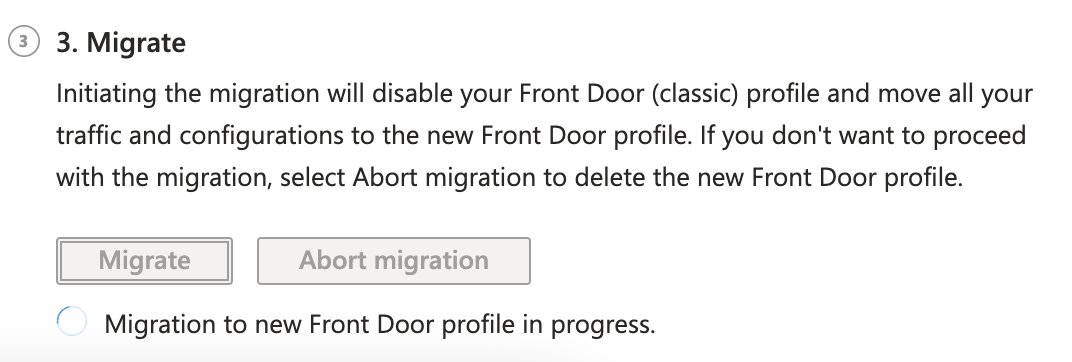
- When you're ready, select Migrate. Migrate will disable the Classic profile and move all of the traffic to the new Front Door profile.
- This is billed as a zero-downtime migration, and in practice it is; however, customers and internal teams should be aware it is happening and be available to support if required.
- If you're still happy, select Migrate and choose Yes.
- This is billed as a zero-downtime migration, and in practice it is; however, customers and internal teams should be aware it is happening and be available to support if required.
Now we wait for the migration to complete!
Migration - Completion and Testing
- Navigate to the new Front Door endpoint and first of all, make sure your app service(s) are running as expected.
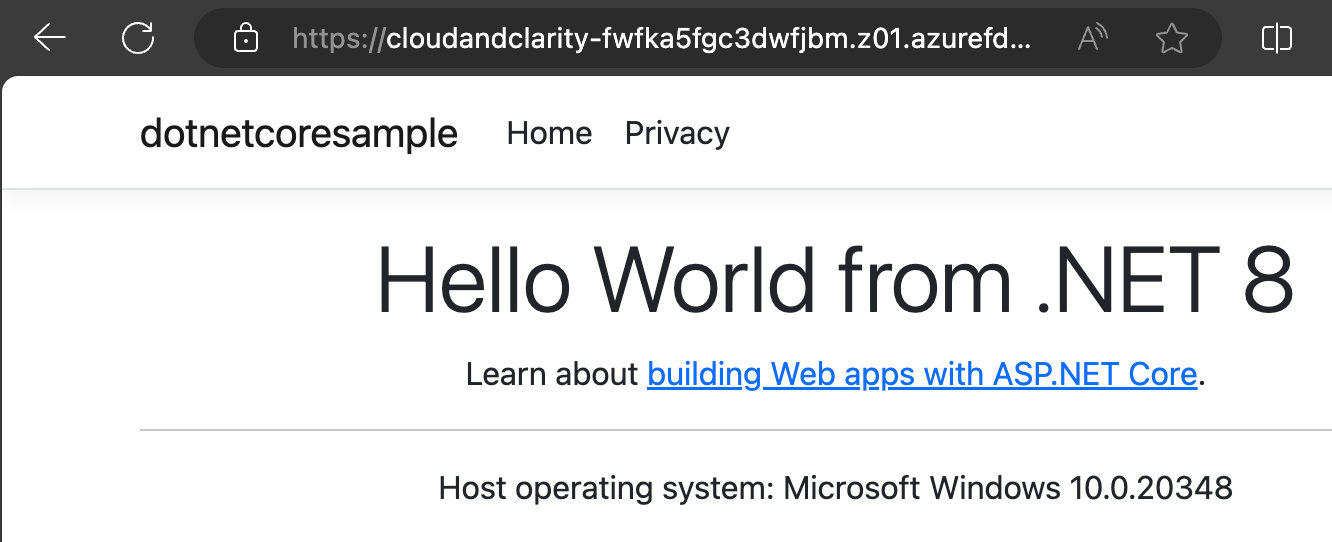
- As we can see here, the App Service is functioning as expected via the new endpoint. Success!
Migration Failed? Unable to access App Service?
The best part of this migration path is that it is zero-downtime, so Microsoft does not document a rollback plan. So what happens when things go sideways?
As standard change control suggests, we should revert the change back to what we know was working.
This is where our JSON template comes in handy. But first, we need to free up the frontend domains.
Time to Rollback
- The first step of rolling back, may be slightly unnerving, but we need to delete both Front Door instances. This is required for a couple of reasons:
- Existing domains need to be made available.
- Our legacy Front Door resource is in a locked state and can't be modified.
- The new Front Door resource isn't working.
- Navigate to your Front Door resources.
- Delete both legacy and migrated resources.
- Follow the re-deployment steps below.
Deploy via Template
- Navigate to the Deploy a Custom Template.
- Select Build your own template and then select Load File from the ribbon.
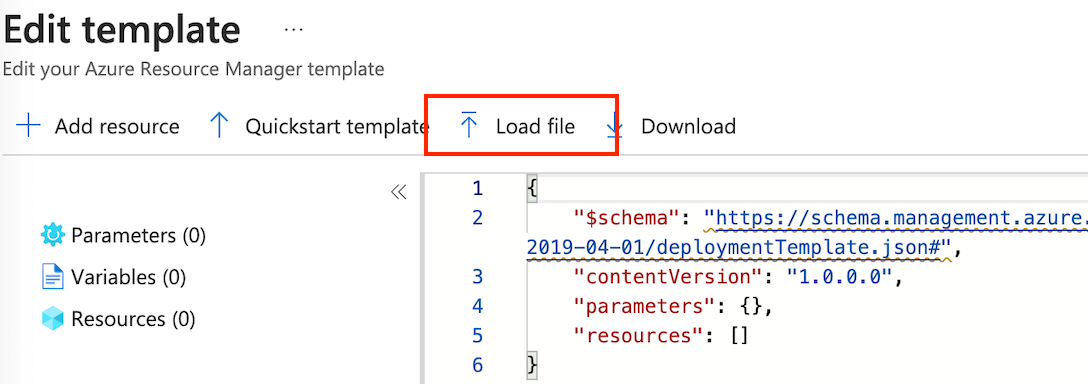
- Load the template.json file from the exported template from earlier in the guide.
- Once this has loaded, select Save.
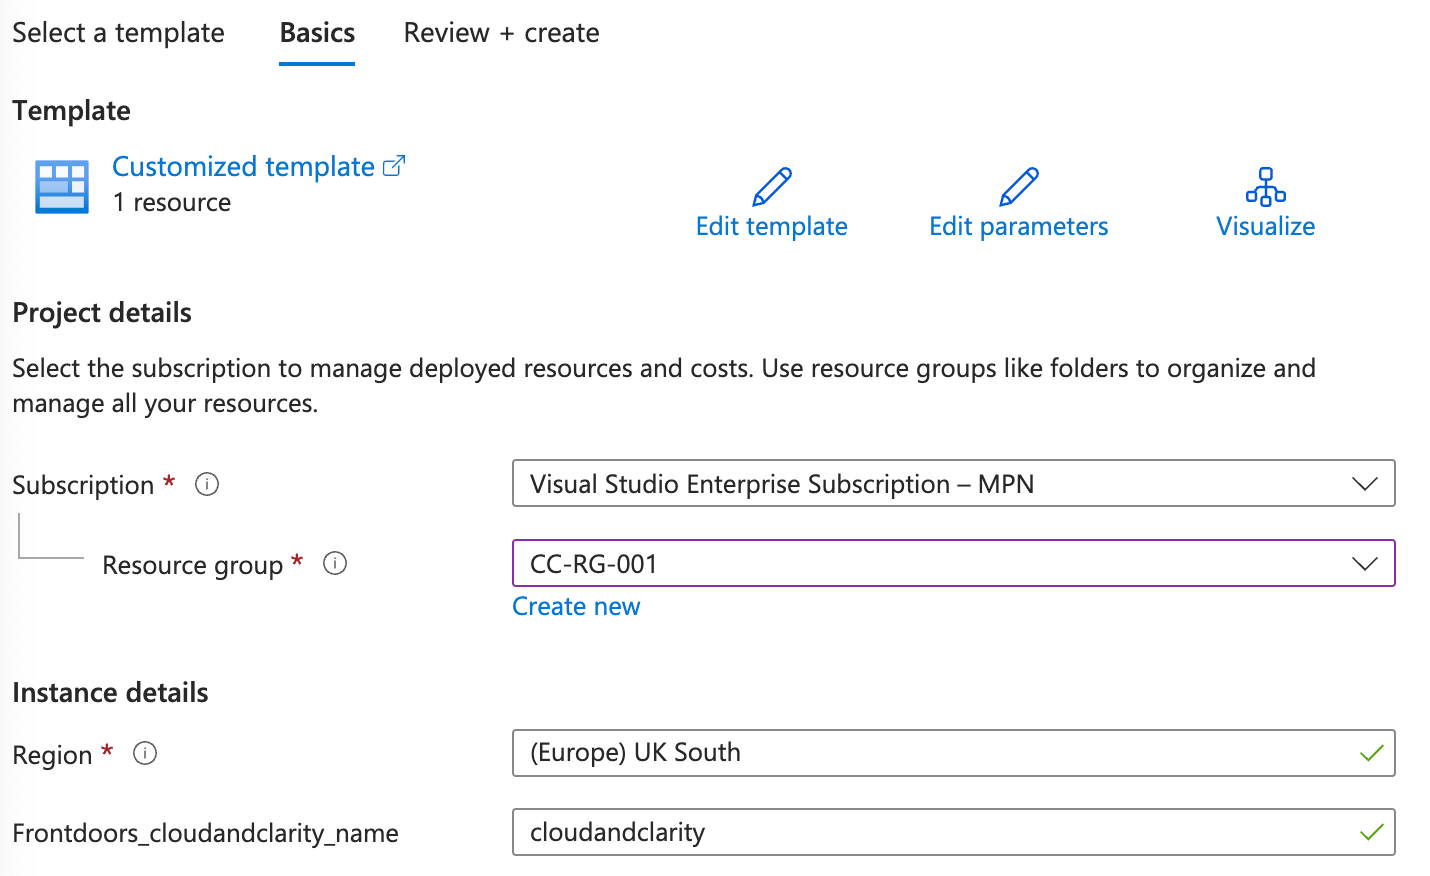
- Azure will automatically recognise what the template will build, and show you the Front Door name.
- Do not change this. This is the initial name of the Classic Front Door, and will need to remain the same to ensure the rollback is successful.
- Select Review and Create.
- Wait for the resource to deploy.
Once the deployment has been completed, navigate to the resource.
The Classic Front Door should now exist as it did before we migrated, funnily enough, it will advise you to migrate!
Now the Front Door is re-deployed, allow a couple of minutes and test your App Service functionality.
You should now see that the App Service is accessible from the legacy domain that was used in the first instance!
- Now, we're at the stage where some further prep is needed.
- Stuck? Look down!
Need Some Help? Contact me below!
As part of giving back to the wider community, I'm happy to offer a complimentary 30-minute call to provide guidance.
Contact me below – if it's a good fit, then we both win!
Useful Links